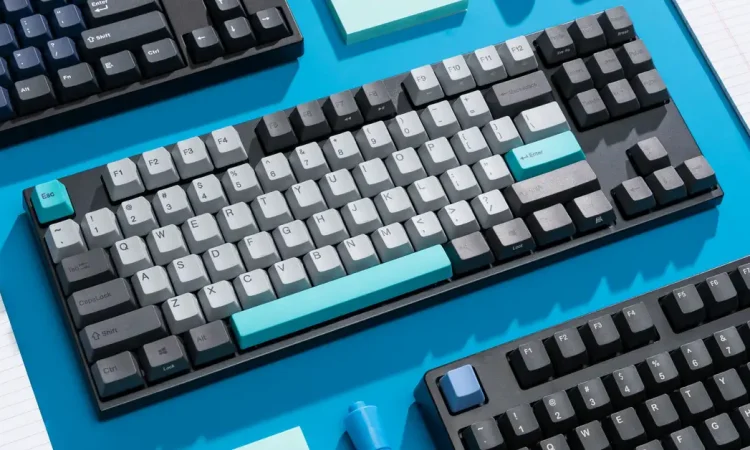
Mechanical keyboards have gained immense popularity in recent years due to their unique feel, durability, and customization options. A key component of any mechanical keyboard is the switch, and the process of soldering the switches onto the circuit board is crucial to the functionality and longevity of the keyboard. In this article, we will go through the step-by-step process of soldering mechanical keyboard switches and provide tips and tricks to help ensure a successful soldering experience. Before we start, it is vital to note that soldering requires a certain level of technical skill and requires safety precautions to be taken, such as using proper protective gear, ventilation, and a well-lit workspace.
Materials Needed:
Mechanical keyboard switches
Circuit board
Soldering iron
Lead-free solder
Flux
Helping hands or alligator clips
Tweezers or pliers
Solder wick or desoldering pump
Heat-resistant mat or silicone pad
Isopropyl alcohol and a cleaning cloth
Clean the Circuit Board and Switches
Earlier soldering, it is essential to clean both the circuit board and the switches to ensure a strong and lasting connection. Use a cleaning cloth and isopropyl alcohol to remove any dirt, oil, or residue from the surface of the circuit board and switches. This will also help to prevent any solder bridges (when two pads are accidentally connected by a bead of solder) from forming during the soldering process. Soldering is a process that involves heating a metal alloy (solder) to a temperature high enough to melt and then fusing it with metal parts to create a permanent electrical connection. In this article, we’ll take a step-by-step approach to teach you how to properly solder mechanical keyboard switches and build your own custom keyboard.
Prepare the Circuit Board
Once the circuit board is cleaned, it is time to position the switches onto the circuit board. This can be done using helping hands or alligator clips to hold the switches in place while soldering. Make sure your work surface is clean and free of any debris. You’ll also want to clean your soldering iron tip to ensure that it is free of any oxidation or residue. This can be done by wiping the tip on a damp sponge or by tinning it with a small amount of solder.
Apply Flux to the Circuit Board Pads
Flux is a chemical agent that helps the solder flow and adhere to the circuit board pads and switch leads. Using a small brush or applicator, apply a small amount of flux to the circuit board pads where the switch will be soldered. Flux is a biochemical agent that helps to remove any oxidation and improve the flow of solder. To use it, simply apply a small amount to the joints on the switch pins where they meet the PCB. Before we dive into the process, there are a few things you should know about mechanical keyboards. Most mechanical keyboards use Cherry MX or Kailh switches, which come in different shapes and sizes. These switches determine the type of keycap mount you have. The most common types are Cherry MX and Kailh, but there are others such as Topre, Alps, and Buckling Spring.
Tin the Switch Leads
Tinning refers to the process of applying a small amount of solder to the end of the switch leads to prepare them for soldering. This makes it easier to transfer heat from the soldering iron to the switch leads, helping to ensure a successful soldering process. To tin the switch leads, hold the switch in place with tweezers or pliers, heat the switch lead with the soldering iron, and apply a small amount of solder to the switch lead until it is coated. Repeat this process for each switch lead. To do this, heat the switch pin with the soldering iron and then touch the tip of the iron to the solder. The heat from the iron will cause the solder to melt and flow onto the pin.
Solder the Switches to the Circuit Board
Now that the switch leads are tinned, it is time to solder the switches to the circuit board. Hold the switch in place on the circuit board using tweezers or pliers, and heat the switch lead and circuit board pad simultaneously with the soldering iron. Apply a small amount of solder to the switch lead while it is still hot and continue to hold the switch in place until the solder has cooled and solidified. Repeat this process for each switch lead, being careful not to apply too much solder and ensuring that the switch is properly aligned with the circuit board. One of the key components of maintaining a mechanical keyboard is lubricating its switches, which can help to reduce friction and noise. However, many users may wonder how long lube last on a mechanical keyboard and what factors influences its lifespan. In this article, we will explore the various aspects of keyboard lubricants and how to prolong their lifespan.
Clean the Soldered Joints
When all the switches are soldered to the circuit board, it is important to clean the soldered joints to remove any residual flux and ensure a strong and clean connection. This can be done using a cleaning cloth and isopropyl alcohol or a specialized flux remover. Once the switch pins have been tinned, it’s time to soldering them to the PCB. To do this, heat the joint between the pin and the PCB while simultaneously applying a small amount of solder. The heat from the iron will cause the tinned pin and the solder on the PCB to melt and fuse together, creating a permanent electrical connection. Mechanical keyboards have become increasingly popular in recent years, particularly among gamers and typists.
Conclusion
Mechanical keyboards have gained popularity among gamers and office workers alike, thanks to their durability, responsiveness, and customizable nature. One of the most common customizations is changing keycaps, which can alter the look and feel of the keyboard. But before you can swap out keycaps, you need to remove the old ones. Most people use a keycap puller tool, but if you don’t have one, don’t worry! You can still remove the keycaps without a tool.
Also read deeptechy