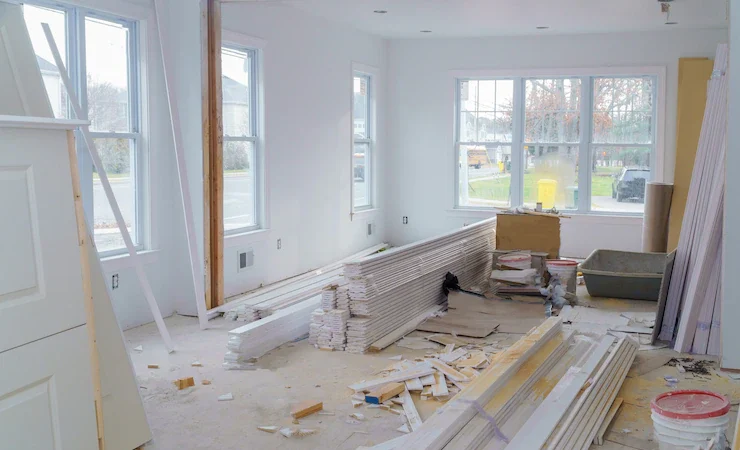
When you’re trying to get your home in shape, sometimes it seems like there’s just not enough time in the day. But with a little planning and elbow grease, it’s possible for even the busiest homeowner to make big progress on their home improvement projects—and get them done quickly. Here are some quick ways you can spruce up your kitchen, bathroom and other rooms around your house and turn them into spaces that feel like a million bucks:
Cleaning the refrigerator.
Next up on the list is cleaning the refrigerator. If it’s been a while since you’ve done this, you’ll be surprised by how much gunk has built up in there.
The front of your fridge can get pretty grimy over time, so make sure to wipe down the door gasket and any handles (or other spots) that have become dirty or stained. The same goes for inside: wipe down all shelves, bins and compartments with hot water and mild soap (or replace them if they’re old).
Take out all removable parts—trays and drip pans—and give them a good scrubbing with hot water mixed with some dishwashing liquid. For extra-stubborn stains, try adding some vinegar to your water; leave for a few minutes before rinsing everything clean again.
Replacing the toilet seat.
When you’re replacing the toilet seat, make sure that you remove the old one first. Sometimes these are screwed on, and sometimes they have a latch system. If it has a latch system, press down firmly on each side until it releases. If it’s screwed in, use your screwdriver to loosen each of the screws holding in place. Once it’s loose, pull up gently and remove the old seat from your toilet bowl.
Now that you’ve removed your old toilet seat lid, clean around where your new lid will go to make sure there are no smudges or grime left behind by previous owners of this bathroom fixture!
Next up: installing your new piece of plastic! First find out what kind of fittings come with your kit (some will come with rubber gaskets or metal brackets). Then insert those into their respective holes on either end of where you plan on placing this thing—then simply slide them together until they’re snug enough not to fall apart but not so tight as to be difficult for future installation/removal (you’ll want something sturdy enough that this doesn’t happen often!). Finally try testing things out by sitting down on top; if everything feels good then congratulations! You now have an updated look in just one day thanks to yourself!”
Cleaning windows and window screens.
- Wash windows with warm water and dish soap.
- Spray window cleaner on the glass, then wipe off with a cloth or paper towel.
- Use a squeegee to remove excess water.
- Clean window screens with a vacuum cleaner if they are dirty or dusty, then replace them on the windows when you are done cleaning them. Don’t forget to clean the window sills as well!
Replacing a dryer belt.
If your dryer requires a new belt, you might be able to do it yourself, without the help of repairman. So before you go and buy a new dryer, check this short guide:
- Remove the old belt. To begin, unplug your dryer from the wall outlet and open it up by removing its door. On some models, this can be done by simply pulling on a lever or rotating a latch; for others, you’ll need to take off more screws than you think are necessary—if that happens to you, don’t worry! Your goal is simply to get inside the dryer’s innards so that you can see where things are in relation to each other and remove any obstructions between them. Once inside the drum area of your machine (the part where clothes tumble around), look down at both sides of its tubular center section. You should see two sets of pulleys located directly above each other: one set controls movement in an up-and-down direction while another controls rotation clockwise or counterclockwise around that central axis point (this second set has no effect on upward/downward motion). The belt connects these two sets together via small grooves cut into all four surfaces involved; simply pull it out with your fingers until it snaps away cleanly at both ends without leaving any other loose pieces behind (you might need pliers if yours gets stuck).
- Install a new belt back into place once all loose bits have been removed successfully. Once again make sure nothing else has fallen out during this process before proceeding forward!
Replacing worn knobs or handles.
Step 1: Remove the old knob or handle. If you have a door with a single knob, use a screwdriver to remove it. If you have a multi-handle door, use both hands to turn all of the handles at once and remove them at once.
Step 2: Clean around each hole where your old handle was installed using an acetone-based nail polish remover if necessary (this will avoid damaging your finish).
Step 3: Install new knobs or handles by inserting them into place and securing with screws or other hardware pieces depending on how they were originally secured in place initially. Make sure that they are tight so that they’ll stay secure but don’t over tighten them because doing so could damage your furniture or doors!
Your home can be in great shape over the course of a day.
If you have a home improvement project that needs to be completed, it’s possible to get it done in a day. The key is knowing what types of projects can be completed in one day and then prioritizing them based on their importance. You can save money by doing the work yourself; after all, hiring someone else would cost you more than buying the necessary materials for your project.
By taking care of some basic maintenance issues around your house, such as cleaning gutters or painting walls, you’ll improve its overall appearance and value while saving money on expensive repairs down the line. If you’re looking to spend more time with your family while still improving your home’s condition, this kind of DIY project is ideal because most don’t require specialized skills—just some elbow grease!
Conclusion
If you’ve ever been frustrated by how much time it takes to clean your home, this article can be a game changer. By doing these quick cleaning projects in just one day, you’ll be able to stay on top of all the little things that add up over time. And best of all? You don’t need any special skills or equipment—just a little bit of time and effort!
Also Read: How Do You Heat Press Acrylic Keychains.